Create Database Using DBCA In Oracle 11G
This is the simplest way to create database in oracle database. Follow below given steps to create database.
First login using oracle system user using GUI Console and then execute dbca command

Now Select Create Database

Select Type Of Database You want to create

Now give Database Name SID name will be same as database name.

Select appropriate option

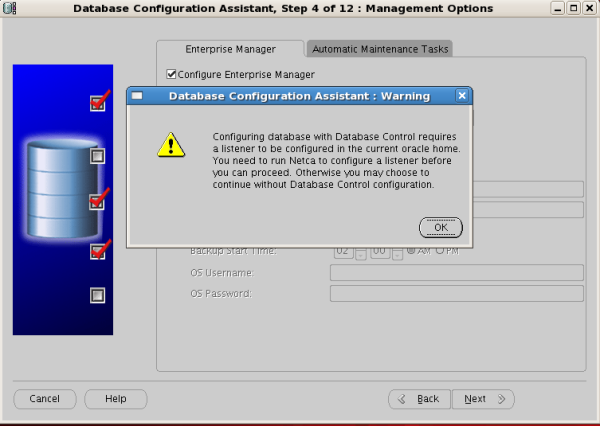
Create Listener if you get this Error or Warning
Give Password you want

This is just password policy warning can configured as per your need

Now Select Database File Location
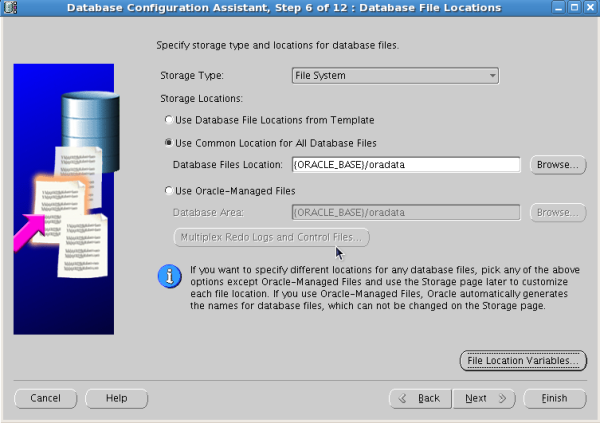
Check file location using File Location Variables

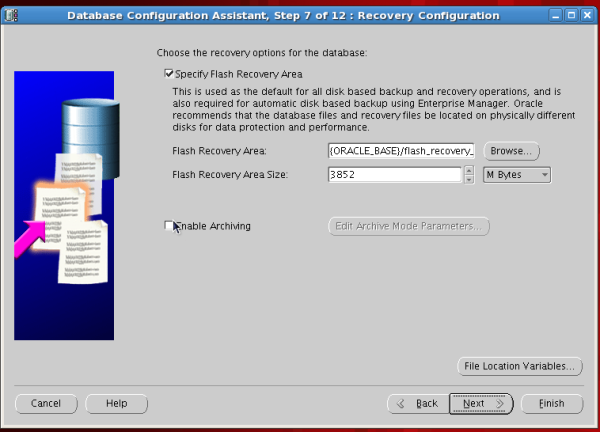
Now specify flash recovery area
Check if you want sample schema

Now give Memory Details etc

Click Next

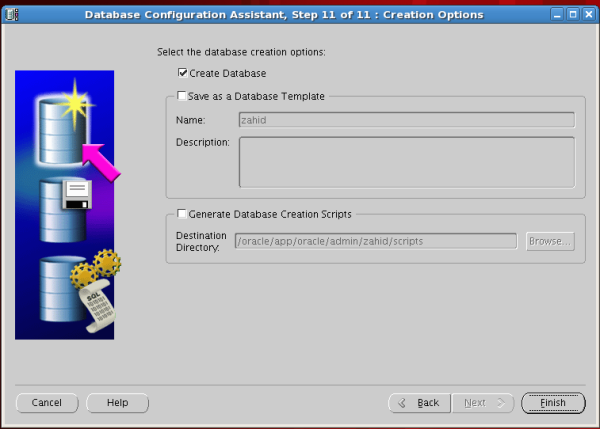
Now select Finish
Ok

Now Installation will start


Now Select EXIT
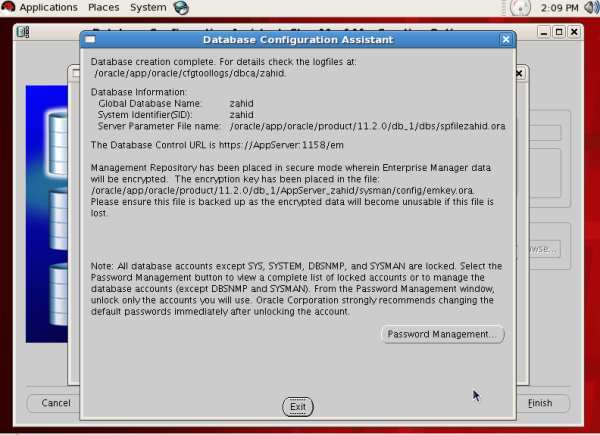
Now Database is created . You can login to database and verify
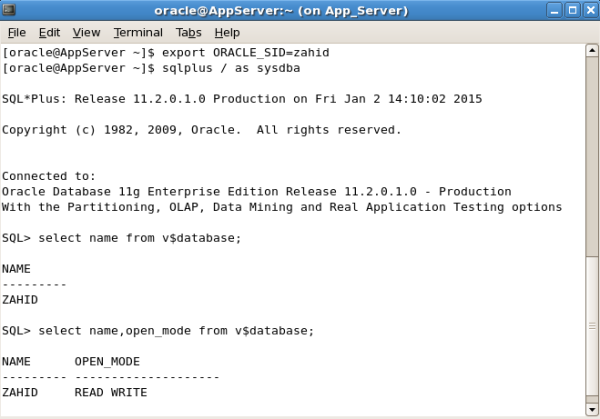
Now Database is created properly
Original post - link
No comments:
Post a Comment